Learn the critical steps for correctly installing safety cover anchors to ensure maximum protection.
Safety cover effectiveness depends entirely on proper installation. Even the highest-rated ASTM cover cannot perform to its safety specifications if the anchors are improperly placed, inadequately secured, or if the cover is incorrectly tensioned. Taking the time to install correctly — ideally with professional assistance — is an investment in your family's safety.
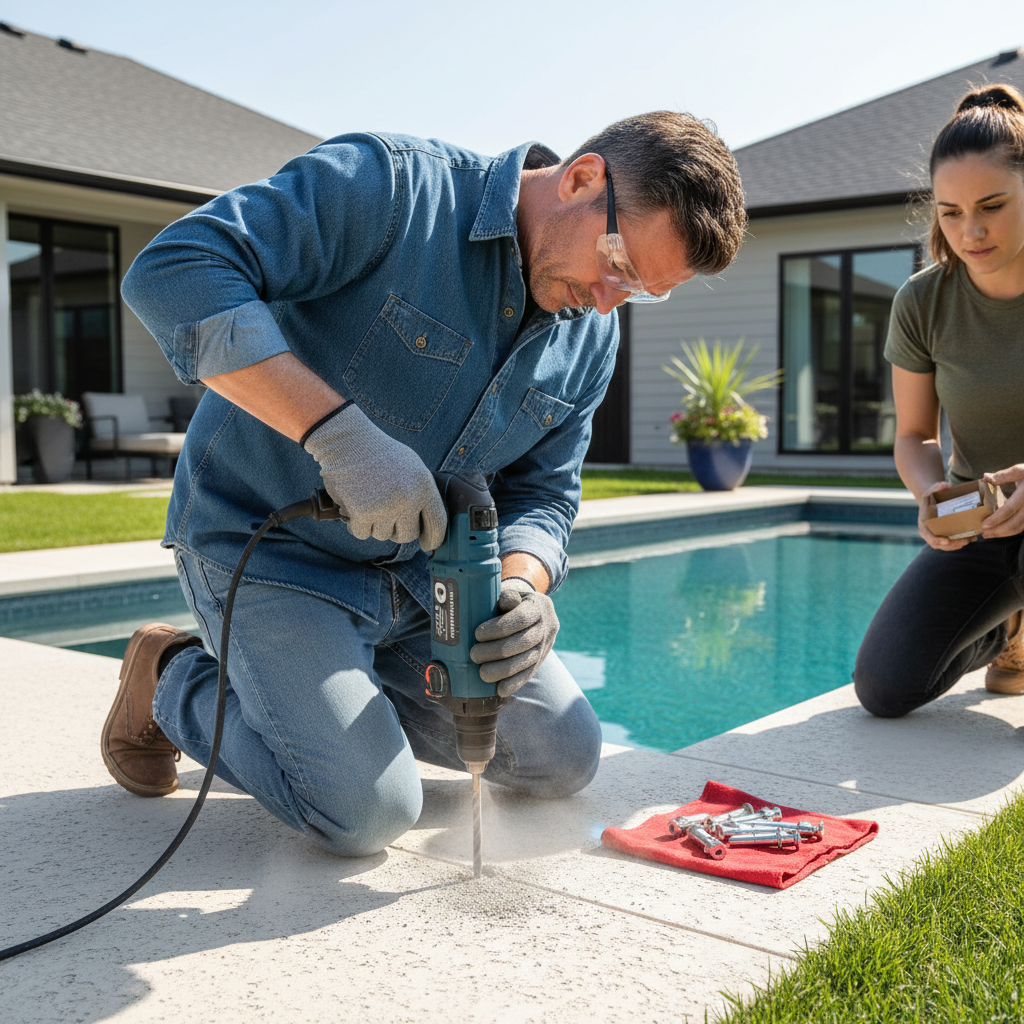
Anchor placement must follow manufacturer specifications, typically every 4–5 feet around the pool perimeter. For concrete decks, use a hammer drill with the appropriate masonry bit to create anchor holes at the specified depth — usually 3–4 inches. Install brass anchors flush with the deck surface after installation to prevent tripping hazards.
For pavers, natural stone, or unique deck materials, alternative anchoring techniques may be required, including deck plates, water bags, or specialized anchoring systems. Our team can advise on the best approach for your specific deck material. Never improvise anchor placement — incorrect positioning creates dangerous weak points in the cover system.
Covers must be installed with consistent, uniform tension across the entire surface. A properly tensioned safety cover will feel taut when pressed, with minimal give, and will drain water toward the edges rather than pooling in the center. Check tension again 2–3 weeks after initial installation as springs and straps settle into position.
Professional installation is strongly recommended for all safety covers. Professionals have the experience to measure accurately, determine correct anchor positions for unusual pool shapes, and ensure springs are set to the right tension from the start. The cost of professional installation is modest compared to the peace of mind of knowing your cover is performing exactly as its safety certification requires.