A few hours of preparation before a blizzard prevents the most common winter cover failures. Here is the pre-storm checklist.
Blizzards are forecast days in advance, which means most winter cover damage is preventable. The failures that happen during storms, such as stretched straps, pulled anchors, sagging fabric, and ice damage, usually begin with something that could have been checked beforehand. A focused preparation routine before the first major storm protects the cover, the pool, and your spring opening. It takes an afternoon and costs nothing but attention.
Begin with a visual inspection of the entire cover. Walk the perimeter and check that every strap is attached, every spring is under tension, and every anchor is seated and clear of debris. Look for small tears, frayed seams, and worn spots, and patch them before the storm. A small defect that is manageable in calm weather can become a tear under wind and snow load. Re-tension the cover if it has loosened since installation.
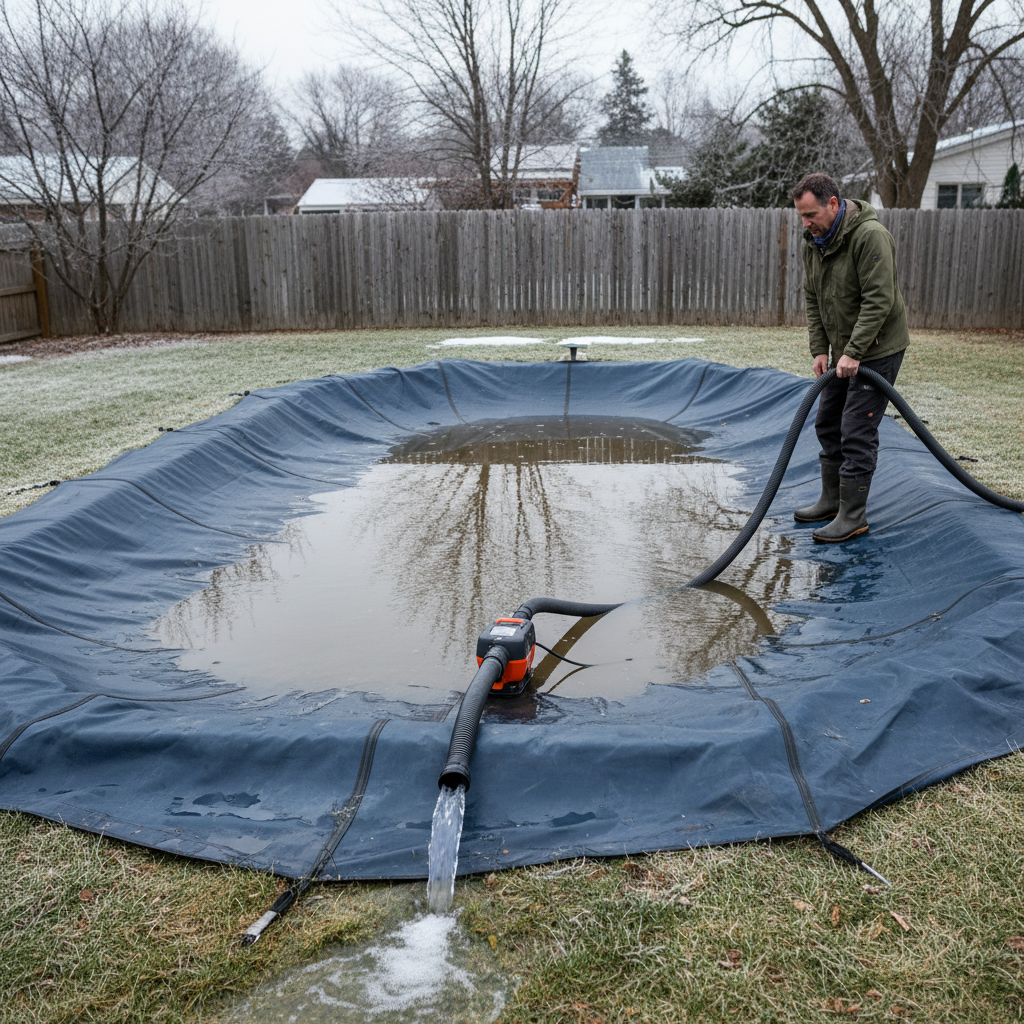
Confirm the drainage system is working. On a solid cover, clear the drain panel of leaves and silt, and test the cover pump. Make sure the discharge hose is clear and directed away from the pool, deck, and foundation. If the pump depends on household power, plan for an outage; a battery backup or a second pump is inexpensive insurance. On a mesh cover, clear debris so water can pass through freely.
Check the pool water level. It should be at the winter level specified by your cover manufacturer, typically below the skimmer but high enough to support the cover. If the level is too high, the cover can float and stress the anchors. If it is too low, the cover may sag excessively under snow load. Adjust it before the storm, not during it. Also confirm that skimmer plugs and expansion compensators are in place.
Secure the surroundings. Move or tie down patio furniture, umbrellas, planters, and anything else the wind could lift onto the cover. Trim overhanging branches that could break under snow or ice and fall on the fabric. Clear gutters so meltwater does not pour onto one section of the cover. These steps reduce the chance of impact damage and uneven loading, which are two of the most common causes of winter failures.
Have the right tools ready before the storm arrives. A soft push broom, a long-handled roof rake with a non-metallic head, a cover pump, and a spare hose should be accessible. Never plan to use a metal shovel on the cover; it will cut the fabric. If you expect a power outage, charge devices and prepare a safe way to remove water manually. Knowing your plan in advance prevents risky decisions in bad weather.
During the storm, stay inside and let the cover do its job. Most covers are engineered for significant snow loads, and the most dangerous thing you can do is climb on a snow-covered cover or chip ice with a metal tool. After the storm, clear heavy accumulation gently with a soft broom, working from the center toward the edges. Do not attempt to remove ice; wait for a thaw and use a pool-safe de-icer around the anchors if needed.
After the weather clears, inspect the cover again. Check for stretched straps, pulled anchors, torn fabric, and standing water. Address small issues immediately and call a professional if the cover has shifted significantly or the hardware is damaged. A prepared cover comes through a blizzard intact; a neglected one often does not. The hour you spend before the storm is the best investment you can make in the cover's longevity.
Charge devices and prepare for outages. A blizzard often brings power loss, and a cover pump without power is useless. Have a battery backup, a manual plan, and a charged phone. Do not shovel snow onto the cover; clear snow away from the pool edge and avoid piling it on the fabric. Heavy, wet snow is the most dangerous, and piling increases load. Use a soft roof rake to pull snow off from the edge rather than climbing on the cover, and keep a safe distance from the pool edge when working.
Check the cover after the storm but before a refreeze. Meltwater that refreezes can bind the cover and damage hardware. Clear drainage, remove standing water, and confirm the anchors are secure. Early action after the storm prevents damage that shows up weeks later, and it keeps the cover ready for the next weather system.
Follow a blizzard preparation checklist. Two days out: inspect straps, springs, and anchors; clear the drain panel; test the pump; confirm the water level; secure loose objects; trim vulnerable branches. One day out: charge devices, stage the soft broom and pump, confirm the backup power plan, and clear the discharge hose. During the storm: stay inside and do not walk on the cover. After the storm: clear snow gently from the edge, remove standing water, check anchors, and inspect the fabric. A written checklist removes the guesswork and ensures nothing is forgotten when the forecast turns serious.
Keep the checklist with your winter kit so it is easy to find. Print it, laminate it, and store it with the broom and pump. A written routine is more reliable than memory, especially when a storm is approaching and there are many tasks to complete. After the season, review what worked and what did not, and update the checklist. Over a few winters, you will have a customized plan that fits your property and makes storm preparation quick and calm.
Update the checklist after each winter with lessons learned. A plan that fits your property and your habits is far more likely to be followed than a generic list, and following it is what keeps the cover secure through the worst weather.