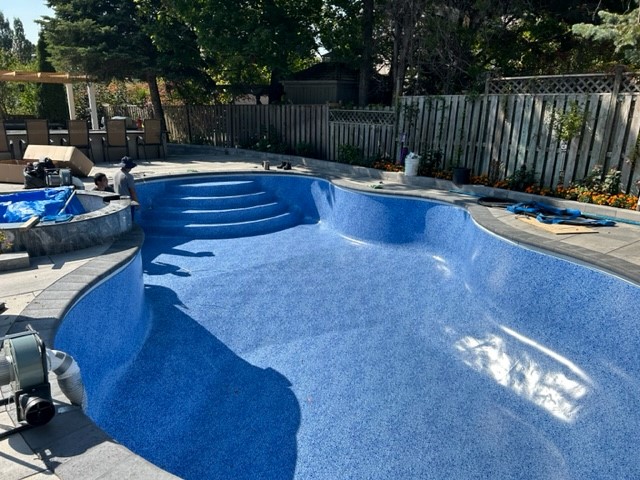
A methodical spring opening protects both the cover and the pool. Follow this checklist for safe removal, inspection, and storage.
Spring opening is the reward for a good fall closing. A pool that was covered properly will open cleaner and faster, and a cover that is removed and inspected correctly will serve for many more seasons. Rushing the process, on the other hand, can dump a winter's worth of debris into the pool and damage the cover in ways that are expensive to fix. This checklist walks through the steps in the right order so both the pool and the cover come through the season in good shape.
Before you touch the cover, remove standing water and debris from its surface. Pump off water on solid covers and sweep leaves toward the edges with a soft broom. Wait for a calm, dry day if possible. Removing a cover that is loaded with water and debris is heavy, messy, and risks tearing the fabric. A clean, relatively dry cover is easier to handle and keeps the pool cleaner during removal.
Gather help and the right equipment. Safety covers are large and awkward, even when they are light for their size. Two or three people make removal safer and faster than one. Wear gloves to protect your hands from springs and hardware, and have a clean tarp or storage bag ready. Remove anchors systematically from one end, and fold the cover accordion-style so the dirty top surface stays inside the folds.
Lift rather than drag. Dragging a cover across coping, concrete, or stone abrades the fabric and can tear seams. Work as a team, lifting and folding in sections. Keep the dirty surface folded inward to contain residual debris, and carry the cover rather than pulling it. If the cover is too heavy to lift, remove debris and water first, or call a professional for help.
Inspect the cover thoroughly once it is off the pool. Check seams, straps, grommets, and the fabric surface for tears, fraying, thinning, and mildew. Examine the springs and anchors for corrosion or damage. Look for any areas that feel weak or stiff. Photograph anything that needs repair, and note the cover's age and warranty status. Small repairs made now are far cheaper than replacements later.
Clean and dry the cover before storage. Spread it on a clean surface, rinse both sides, and use mild soap for stubborn dirt. Rinse thoroughly and allow it to dry completely in the sun. Never store a damp cover; mildew will develop and weaken the fabric. Once dry, fold or roll loosely and store it in a breathable bag in a cool, dry, ventilated location, away from rodents, chemicals, and sharp objects.
Then turn to the pool. Remove plugs and winterizing accessories, refill to the proper level, and start the circulation system. Clean and backwash the filter, brush the walls, and vacuum the floor. Balance the water chemistry before swimming, and shock the pool if needed. Check the pump, heater, and any other equipment for winter damage. A methodical opening catches problems before they become expensive.
If anything about the cover or the pool looks wrong, call a professional before proceeding. A sagging cover, damaged anchors, or a pool that will not hold water may indicate a problem that needs expert attention. Document the condition of the cover each year, keep the records, and schedule professional inspection if the cover is more than a few years old. A careful spring opening sets up a safe, enjoyable season and extends the life of your cover.
Check the water level before removing the cover. If the pool is low, the cover may be supporting more weight than intended. If it is high, the cover may float. Adjust to the recommended level first, then remove the cover safely. Inspect the anchors and deck as well, because winter freeze-thaw can loosen anchors or crack decking. Check each anchor for movement and each spring for corrosion, and repair or replace damaged hardware before the next season.
Schedule professional service if needed. If the cover is large, damaged, or the pool has complex features, a professional opening is worth the cost. They can remove the cover safely, inspect it, and address pool equipment issues. A smooth opening sets up a better season and extends the life of the cover.
Inspect the pool itself, not just the cover. Check the water level, the skimmer, the pump, the filter, and the heater. Look for cracks in the deck, loose coping, and damaged anchors. Test the circulation and confirm the chemistry is balanced before swimming. Remove winterizing plugs and accessories carefully, and check for leaks. A thorough opening catches problems before they become expensive and ensures the pool is safe and ready. The cover is part of a system, and a pool that is opened correctly protects the cover investment as much as the cover protects the pool.
Record the opening in your maintenance log. Note the date, the water chemistry readings, any repairs, and the condition of the cover. Next year, you can compare and spot trends. A log turns opening from a chore into a diagnostic tool, and it helps you plan maintenance before problems appear. A well-documented opening is the start of a well-maintained season.
Gather the right tools before you start. You will need a cover pump, a soft broom, work gloves, a tarp or storage bag, a garden hose, mild soap, and a patch kit. A helper makes removal safer. Keep a ladder handy for inspecting the cover on a flat surface, and have a camera ready to document condition. The right tools turn a difficult job into a manageable one and reduce the risk of damage to the cover or injury to the people handling it.