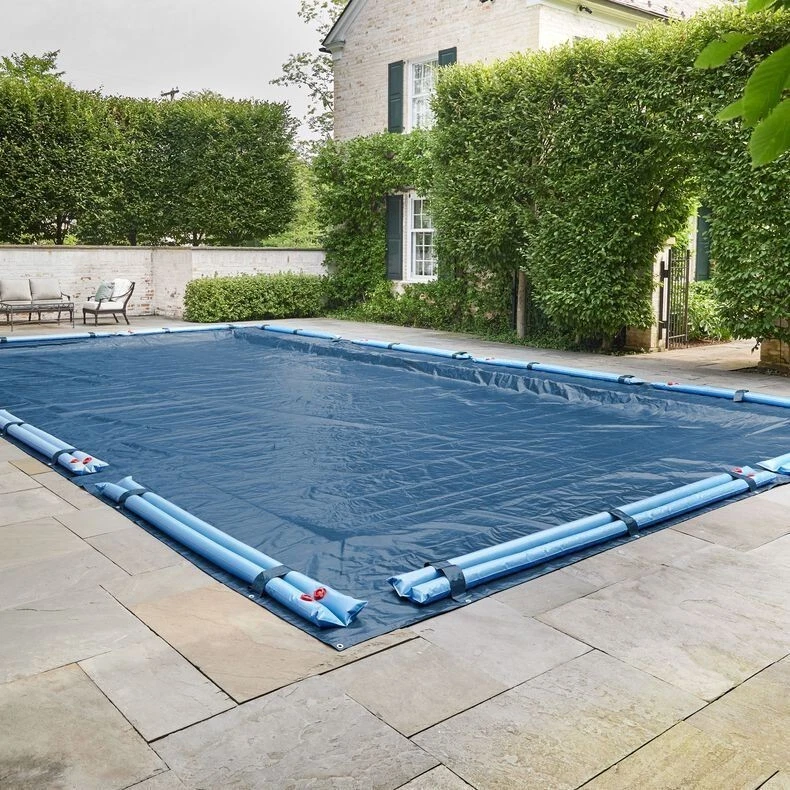
Wind is the most common cause of winter cover failure. Here is how to anchor a cover properly so it stays put through the worst weather.
Most winter cover failures are not caused by snow; they are caused by wind. A loose cover acts like a sail, and a single gust can lift an edge, pull an anchor, or peel the cover back across the pool. Once that happens, debris and water enter, the cover flaps and abrades, and by spring the damage is significant. Proper anchoring at closing is the most important step in preventing wind failure, and it takes more care than simply hooking springs onto anchors.
Start with the right hardware. Brass or stainless anchors set into the deck at the manufacturer's specified spacing are the foundation. Springs should be matched to the cover and in good condition, not stretched or corroded. For above-ground pools, use a quality cable and winch with a protective edge, and consider cover clips or a proper winter cover rather than a tarp. Inspect every component before installation and replace anything worn.
Install the cover taut and centered. A cover that is off-center will have uneven tension, with some straps tight and others loose. The loose side is where wind will get under the fabric. Work around the pool systematically, attaching springs in a balanced pattern rather than finishing one side before starting another. The finished cover should feel firm when pressed and should not sag in the middle.
Check tension after the cover has settled. Springs and straps relax over the first two to three weeks, especially as temperatures drop. Re-tension the cover before the first hard freeze. A cover that was tight at installation may be noticeably loose by late fall, and that looseness is exactly what wind exploits. A quick follow-up visit is the difference between a secure cover and a vulnerable one.
Manage the water level and drainage. For in-ground pools, lower the water to the recommended winter level, typically below the skimmer but high enough to support the cover. If the water is too high, the cover can float and lift the anchors; too low, and the cover sags under snow and wind. On solid covers, ensure the drain panel is clear and the pump is working. Standing water adds weight and can freeze, stressing the hardware.
Reduce wind exposure where possible. Secure loose furniture and equipment, and consider a temporary windbreak if the pool sits in an exposed location. Trim branches that could break onto the cover. Make sure the cover has no folds or pockets that catch wind. On above-ground pools, an air pillow under the cover helps distribute ice pressure and keeps the cover from sitting directly on the water, but it must be properly inflated and centered.
Inspect after every major wind event. Check that all springs are attached, anchors are seated, and the cover has not shifted. Look for frayed straps and bent hardware. Early correction prevents a small issue from becoming a full failure. If an anchor pulls out, do not simply push it back in; have it reset properly, because a loose anchor will pull out again under load.
A winter cover is only as good as its anchoring. Use quality hardware, install the cover taut and centered, re-tension after settling, manage water and drainage, and inspect after storms. Do these things at closing, and the cover will stay in place through wind, snow, and ice. Skip them, and you may spend spring repairing damage that a few hours of care would have prevented.
Use the correct anchors for your deck material. Concrete, pavers, and wood each require different hardware. A paver deck may need deck plates or special anchors, while concrete uses masonry anchors. Using the wrong type can loosen under load. Check the tension after the first cold snap too, because materials contract and a cover that was tight in fall may loosen. Re-tension before the first heavy snow, since a loose cover is far more vulnerable to wind.
Keep a winter kit. A soft broom, a cover pump, spare springs, and a patch kit should be accessible. When a storm hits, you want to respond quickly without searching. Preparation turns a potential emergency into a manageable task, and it protects the cover through the worst of the season.
Understand how wind lifts a cover. Wind moving over a loose or uneven surface creates pressure differences that can lift an edge, and once an edge lifts, the cover acts like a sail. A taut, evenly tensioned cover resists this because there is no slack to catch the wind. That is why re-tensioning after the cover settles is so important, and why a single loose spring can start a cascade. Check the cover after windy days, reseat any lifted edges, and replace worn springs. Wind damage is usually progressive, and early correction prevents a small lift from becoming a full failure.
Check the cover after every windy period, not just after storms. Wind can loosen a spring or shift a strap without obvious damage. A quick walk around the perimeter catches the problem while it is small. Re-tension if needed, and replace any spring that has lost tension. A cover that stays taut and centered resists wind far better than one that is allowed to loosen, and the habit of checking after wind is one of the simplest ways to protect the investment.
Wind and snow interact in ways that are easy to underestimate. Wind can loosen a cover, and then snow adds weight to the loosened fabric, stressing anchors and straps. A cover that is taut before the storm handles both far better than one that is already loose. Check tension before the first snow and again after the first cold snap. Clear heavy snow before it turns to ice, and never let a loose edge flap through a storm. These combined checks are what keep the cover secure through a long winter.